Say it, don’t type it (updated for Catalina)
Your Mac has the ability to turn your spoken word into text. To use your Mac for dictation you’ll first need to enable it. Click the Apple menu, then System Preferences, Keyboard then click the Dictation tab.
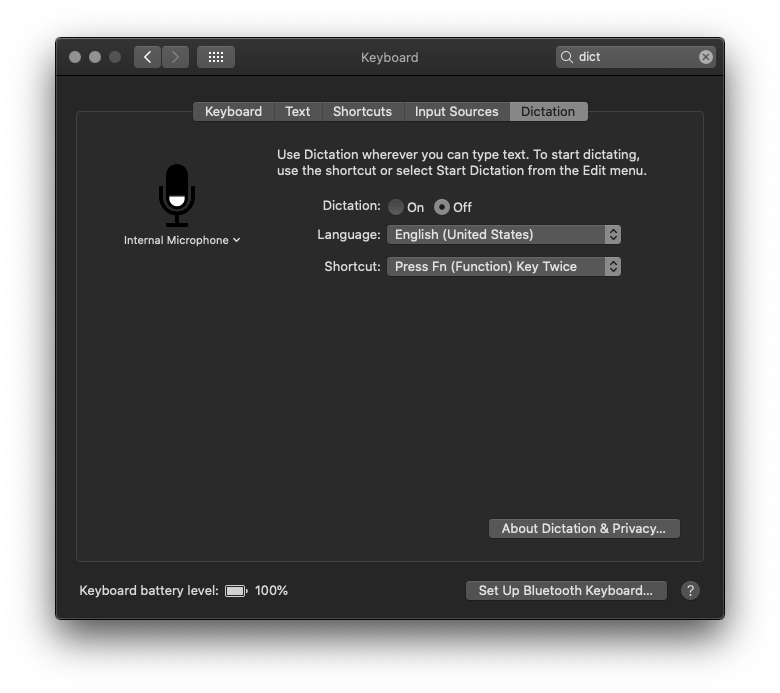
The Dictation tab will allow you to turn the dictation feature on and off. Enhanced dictation will allow you to use dictation when you’re not connected to the internet. If you don’t use enhanced dictation, whatever you say is sent to Apple’s servers then converted to text and sent back to your Mac. The trade-off is you’ll have to wait for the software required for enhanced dictation to download (a hefty 1.2 GB) to your Mac, which can take anywhere from 30 minutes to 3 hours depending on your internet connection speed.
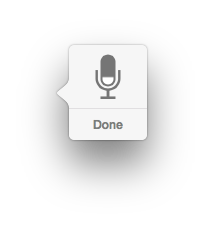
Once you’ve enabled Dictation you can use it in any Application on your Mac that accepts text input (any app you can type in). To start using it press the keyboard shortcut listed in the Dictation & Speech Preference Pane (Function key twice for the example above). When you press the function key twice your Mac will listen to what you say and type it out in the Application you’re in. It will be signified by the microphone icon:
You can use this for sending emails, writing comments on Facebook, or putting together a proposal in Microsoft Word.
How well does work? Below is a short test I ran between what I said (on the left) and what Dictation heard (right):

As you can see it is pretty accurate. One thing to note, if you want a sentence to end you have to say “period”. Same rules apply for commas, exclamation point, question mark, and so on. For quote marks, you need to say “quote” and then “end quote” when you’d like to end the quote. I won’t go through all of the commands, because Apple already has listed them. Learn more about dictation on the Mac, or say “Show Commands” when you have dictation active to see a list of available commands.